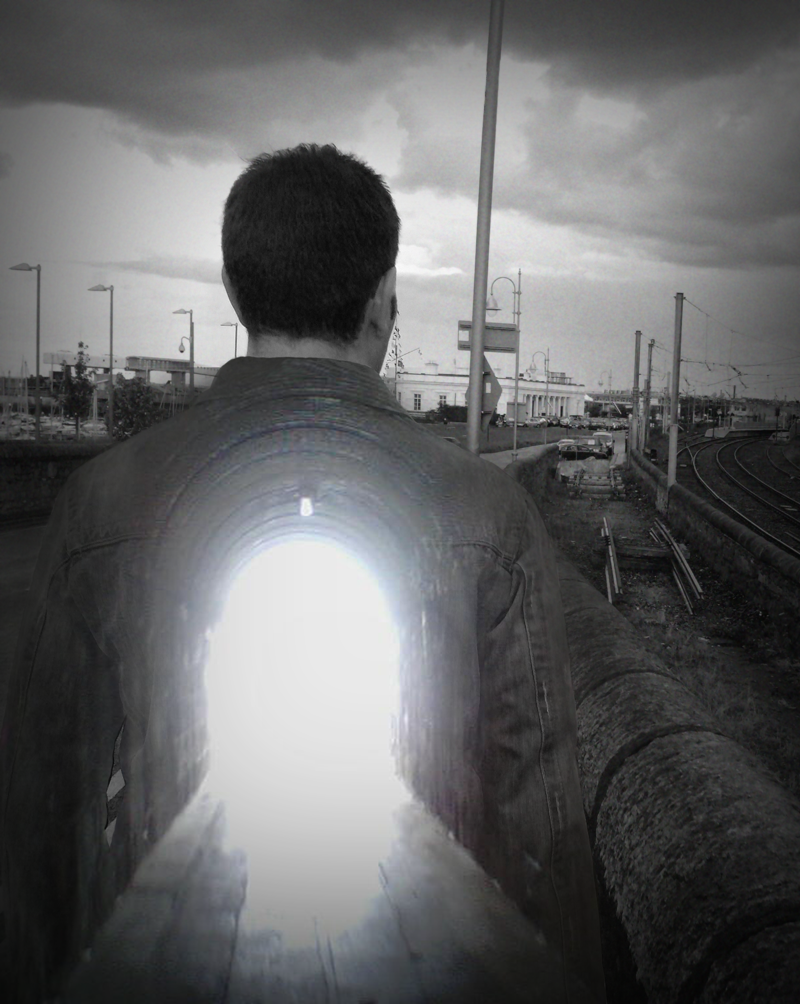
The double exposure effect has been used in photography since the beginning of time, but it’s lately that I’ve started to see it more often in photomontages and audiovisual productions, such as the spectacular credits of the popular HBO series True Detective.
These days I’ve been experimenting with the technique, finding that it’s quite easy to achieve original results with Photoshop, even for an amateur. What I like the most is that with only two pictures and a couple of tools you can obtain compelling and varied compositions.
I also prefer not starting with a clear objective in my mind, but just trying combinations on the fly and seeing where the design is heading to.
In the examples in this post I used:
- Desaturation
- Layer blending modes
- Levels
- Masks
To reach these results:
A step by step example
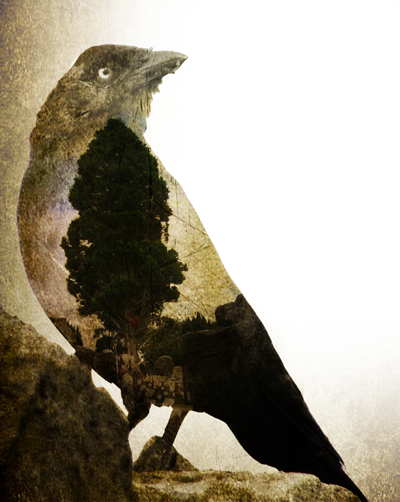
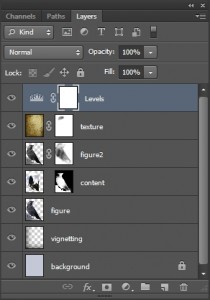
In this tutorial I will explain how I applied the effect to get the image of the raven. If it’s any help, these are the layers I worked with:
1. Choose the pictures
First I went to my archive and selected images that seemed to work well together.
The possibilities are endless here. You can just combine images which compositions fit, include abstract motifs, or go a step further and try to reflect a message, for example, of a symbolic kind.
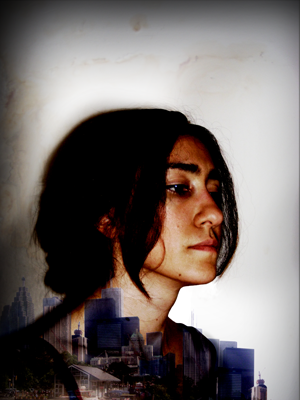
While I was looking for examples in Google, I saw that people usually uses photos of models as main images in combination with landscapes or natural motifs, in order to evoke emotions.
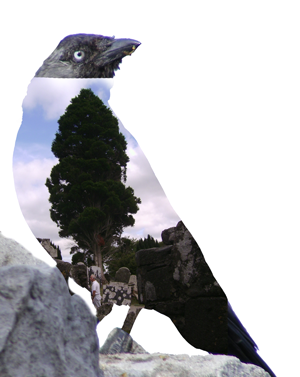
In my case I had to do various tests until I realized what combinations worked and which didn’t. In the mentioned exampled, these were my two pics:
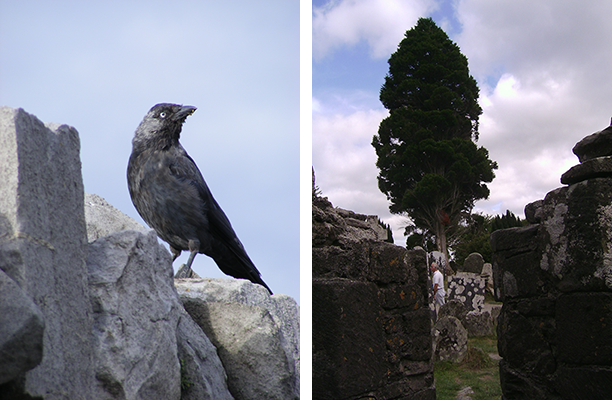 2. Crop the container image
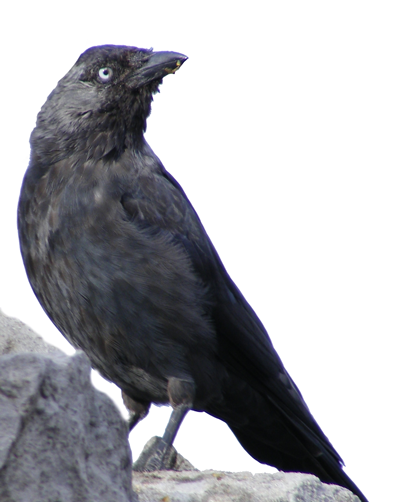
The first thing to do is to separate the container image from its background. This is easier if the background is a plain color, because then you can just use the magic wand without further complications. If there are other elements that need to be removed, the process will be more manual. In this case you can create a mask and paint on the image with the black brush, or remove the background manipulating levels and channels.
3. Apply a mask on the inner image
Now, in a new layer above the container image, you place the inner image. Then you select the container or main image by pressing Ctrl + click (on Windows), click on the content image, add a mask to it, and finally unlink it by clicking the link icon.
As you can see, now the image of the tree is contained within the raven imagen in a way that you can drag it and place it where it fits best.
4. Duplicate the containing image and move it above
You then desaturate this layer and apply a multiply bending mode.
5. Apply masks and adjust the opacity with the brush
Here I applied masks on the layers content and figure2, and painted them with the brush tool to adjust the opacity until I got something to my taste.
The idea is getting to the point where both images preserve the important details that make them distinguishable.
At this point you can decide to preserve most of the color of the images, leave a subtle tone, or turn it into black and white.
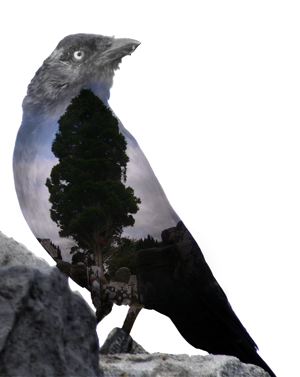
6. Final adjustments
To get the best result you can do things like applying a layer to change the levels and increase the contrast, or adjust the transparency of the layer figure2.
To finish off this work I added a “vignetting effect” as I call it, and applied a texture that gives the composition an aged appearance.
The key is trying on arrangements until the subject is integrated with the background and you don’t get the impression of a cut-out figure:
And basically, that’s what I’ve learned so far. There are other tools or techniques that fit with this kind of composition, such as gradient maps, or the combination of several images inside the main image.
In short, there are many ways to apply the double exposure effect with Photoshop to get good results, and you will only come to them by experimenting and learning with each design.
Leave a Reply